
By: ERIN BAILEY, Feis America Magazine contributor
When I finished my dancing career, it was a bittersweet moment. Weekends without morning practices felt strange.
My parents had a bit more time on their hands…and a bit more money.
Sorting through our “Irish Dance closet,” we found a basket of soft shoes deemed no longer worthy, old bloomers, ripped tights and make-up from my earlier competitive days.
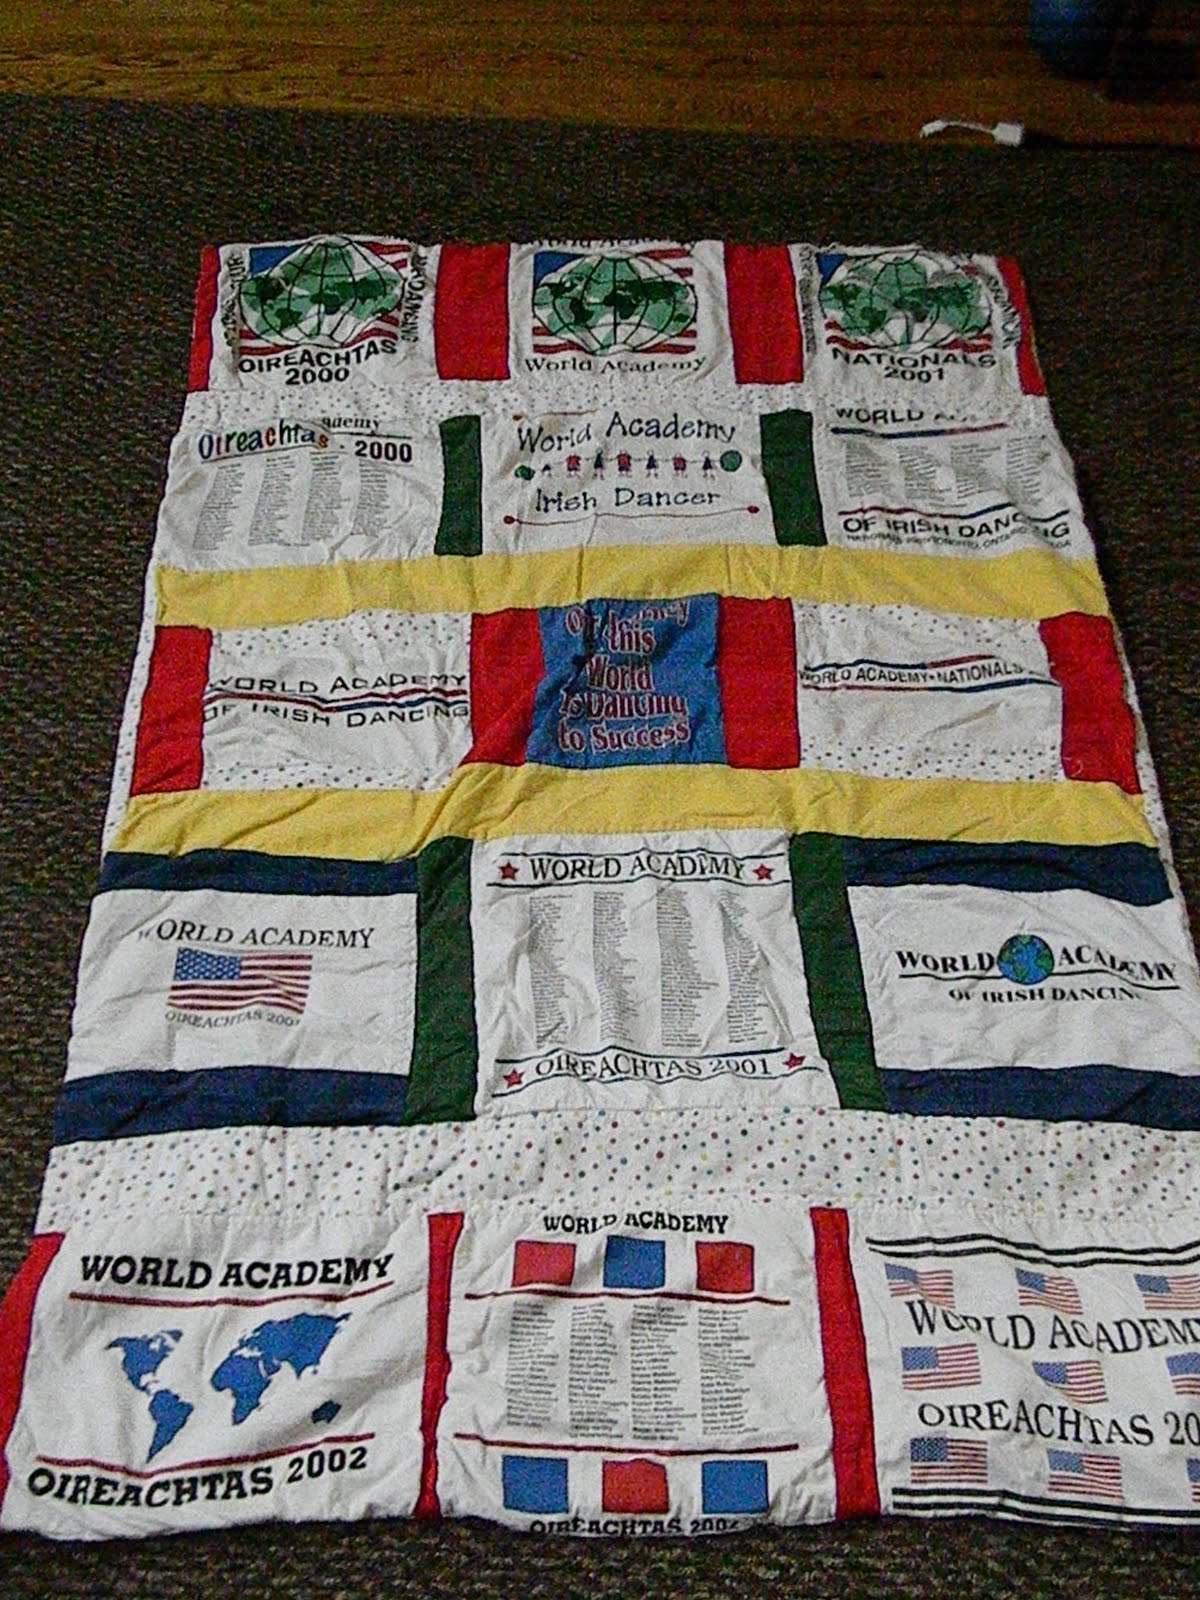
Basically, a bunch of stuff we held onto because we never knew what might come in handy for a show or competition down the road. While some items were easy to trash, others took on a new life of their own. My mom took all of the memorable Oireachtas, Nationals and Worlds T-shirts and turned them into a quilt—a graduation present that made the perfect parting gift right before I packed up for college.
So before you throw out those old tees, think of a clever new way to use them. Read this step-by-step guide on how to make a dancing tee quilt of your own.
Materials:
• 12-15 T-shirts
• 2-3 yards of stabilizer
• 2-3 yards of material for back
• 1-2 yards of material for front (usually a contrast)
Instructions:
1. Determine the size of squares by the biggest design on the shirt or hoodie
2. Cut shirts to that size. Example: 12x12 or 16x16
3. Cut stabilizer and iron to the back of shirts
4. Arrange squares into the desired pattern. We like three squares across and five down
5. Cut panels in a contrasting fabric into strips. They will surround the squares
6. Sew panels and squares together, working horizontally first and then vertically
7. Pin your sewn-together top layer to the backing material
8. Sew together
9. Finish with top stitch and embroidery threads in corners
Photo Credit: Erin Bailey
For North America's favorite Irish dancing magazine delivered directly to your mailbox, subscribe now!


Comments