
By: ERIN BAILEY, Feis America Magazine contributor
When I finished my dancing career, it was a bittersweet moment. Weekends without morning practices felt strange. My parents had a bit more time on their hands…and a bit more money.
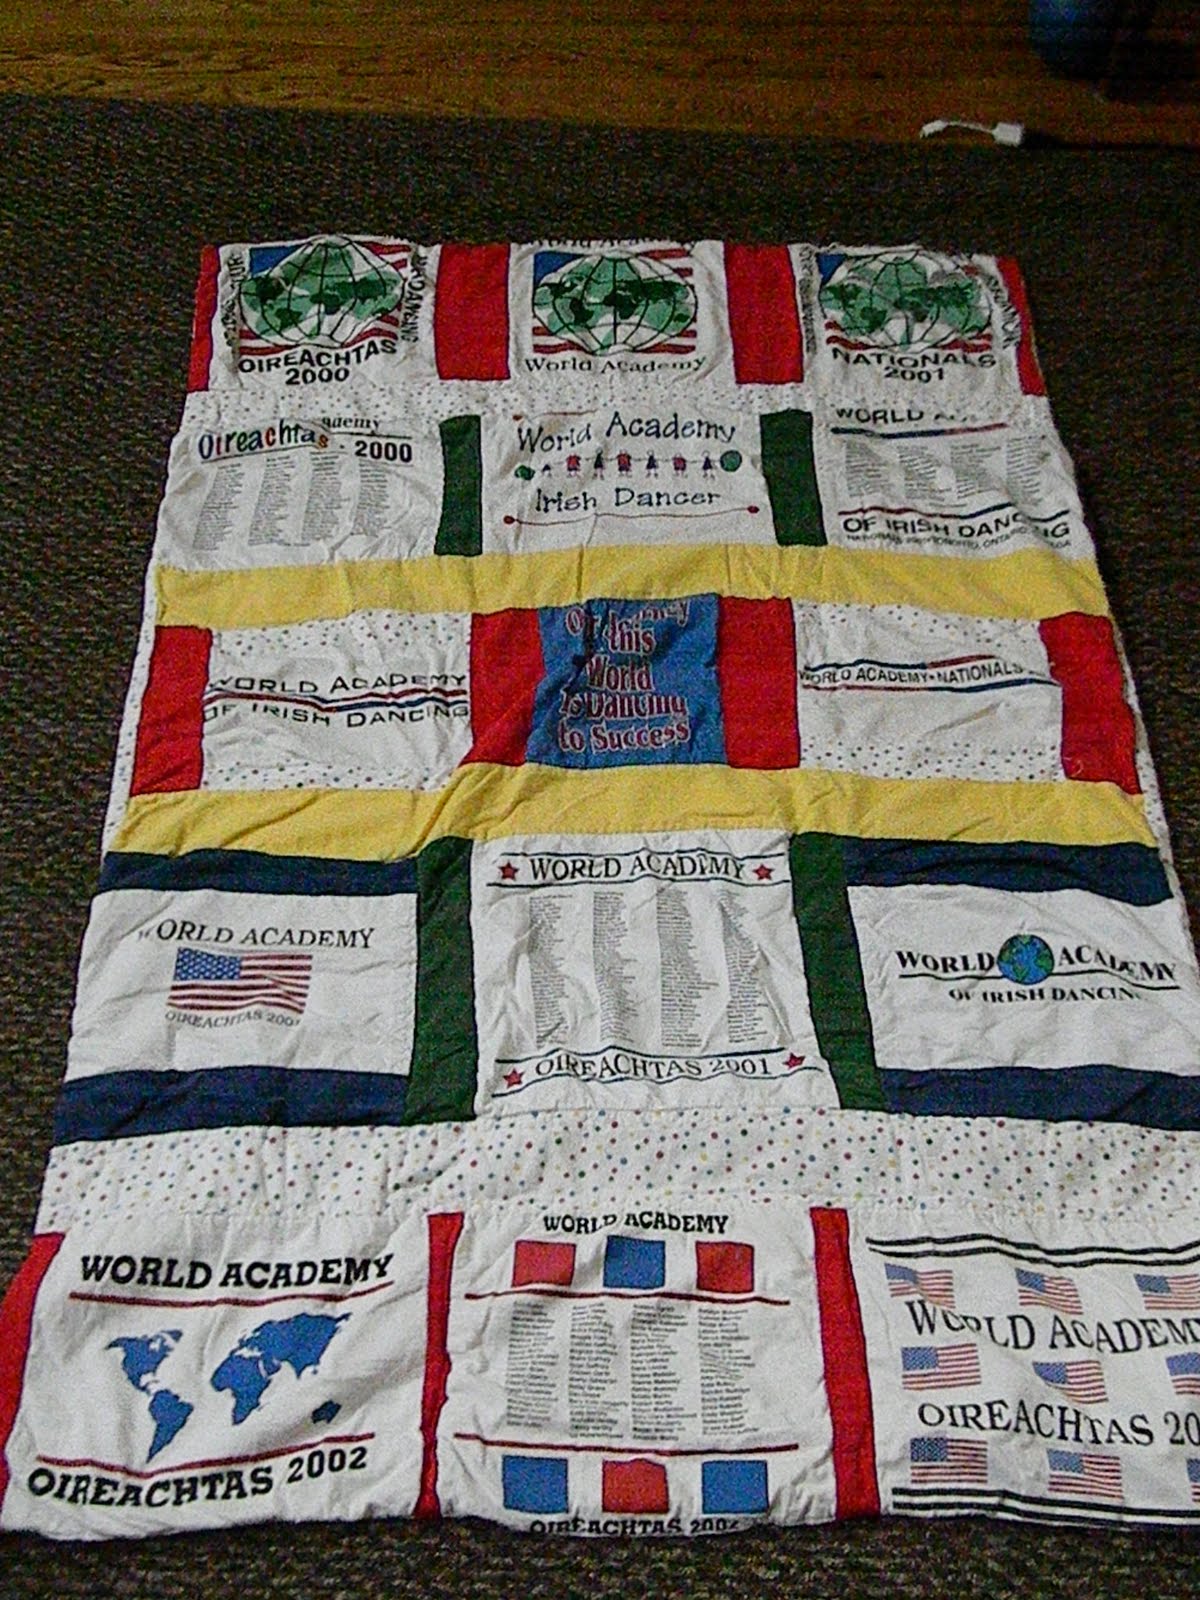
Sorting through our “Irish Dance closet,” we found a basket of soft shoes deemed no longer worthy, old bloomers, ripped tights and make-up from my earlier competitive days. Basically, a bunch of stuff we held onto because we never knew what might come in handy for a show or competition down the road. While some items were easy to trash, others took on a new life of their own. My mom took all of the memorable Oireachtas, Nationals and Worlds T-shirts and turned them into a quilt—a graduation present that made the perfect parting gift right before I packed up for college.
So before you throw out those old tees, think of a clever new way to use them. Read this step-by-step guide on how to make a dancing tee quilt of your own.
Materials:
- 12-15 T-shirts
- 2-3 yards of stabilizer
- 2-3 yards of material for back
- 1-2 yards of material for front (usually a contrast)
Instructions:
- Determine the size of squares by the biggest design on the shirt or hoodie
- Cut shirts to that size. Example: 12x12 or 16x16
- Cut stabilizer and iron to the back of shirts
- Arrange squares into the desired pattern. We like three squares across and five down
- Cut panels in a contrasting fabric into strips. They will surround the squares
- Sew panels and squares together, working horizontally first and then vertically
- Pin your sewn-together top layer to the backing material
- Sew together
- Finish with top stitch and embroidery threads in corners
Photo Credit: Erin Bailey
For North America's favorite Irish dancing magazine delivered directly to your mailbox, subscribe now!


Comments